Supplies:
2 white buttons (one larger than the other- my larger one is about the size of a quarter, the smaller the size of a nickel.)
12" 1/8" wide black, orange, green satin ribbon
12" 1/2" wide black satin ribbon
1 barrette (pin if you decide to make it a brooch)
Glue (either hot glue or Elmer's glue)
Step 1: Snip from the 1/8" black satin ribbon; 7 squares.
Step 2: Glue the squares to make the eyes, mouth and buttons for your Snowman as pictured below.
Step 3: Make a triangle "carrot" from 1/8" orange satin ribbon. Make it to fit the size of your Snowman. Glue to your Snowman's face.
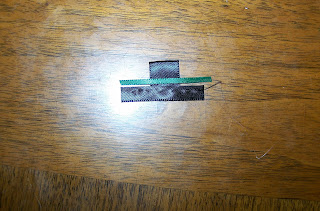
Step 4: Cut from your 1/2" black satin ribbon (2) pieces 3" long.
Step 5: Fold one of the ribbons in half lengthwise and glue. Fold the other ribbon in half width wise and glue.


Step 6: Glue them together to make your snowman's hat.
Step 7: Cut a 3" piece of 1/8" green satin ribbon. Place ribbon on hat where the two pieces meet. Use a drop of glue to hold in place.


No comments:
Post a Comment